import data into access
You can easily import data from a variety of different sources, including text, Excel, XML, HTML, ODBC datasources and more.
You can also link to external data sources, so that changes in the source file are reflected in your Access database.
Generally, when importing data, you have these options:
- Import the data into an existing table;
- Have Access create a new table based on the data; or
- Establish a link to the external file, so that future updates are reflected automatically.
Today, we'll import data into an existing table
Import a CSV File into an Existing Table
We will import the following CSV file into the Artists table.
Source File: artists.csv
1, AC/DC, 1973
2, Louis Armstrong, 1914
3, Iron Maiden, 1975
4, Miles Davis, 1944
5, Pat Benetar, 1972
6, Stevie Ray Vaughan, 1965
7, Avenged Sevenfold, 1999
8, Destiny's Child, 1990
9, Snoop Dogg, 1992
Destination table: Artists
| ArtistId | ArtistName |
|---|---|
You can download the CSV file here: artists.csv
Note that this file includes an extra field that's not in our destination table. Not a problem. Access will allow us to remove the extra field.
Also, the CSV file doesn't contain a header row, but that's fine. Access can deal with this too.
Launch the Import Wizard
Before starting, ensure that both the source file, and the destination table are closed.
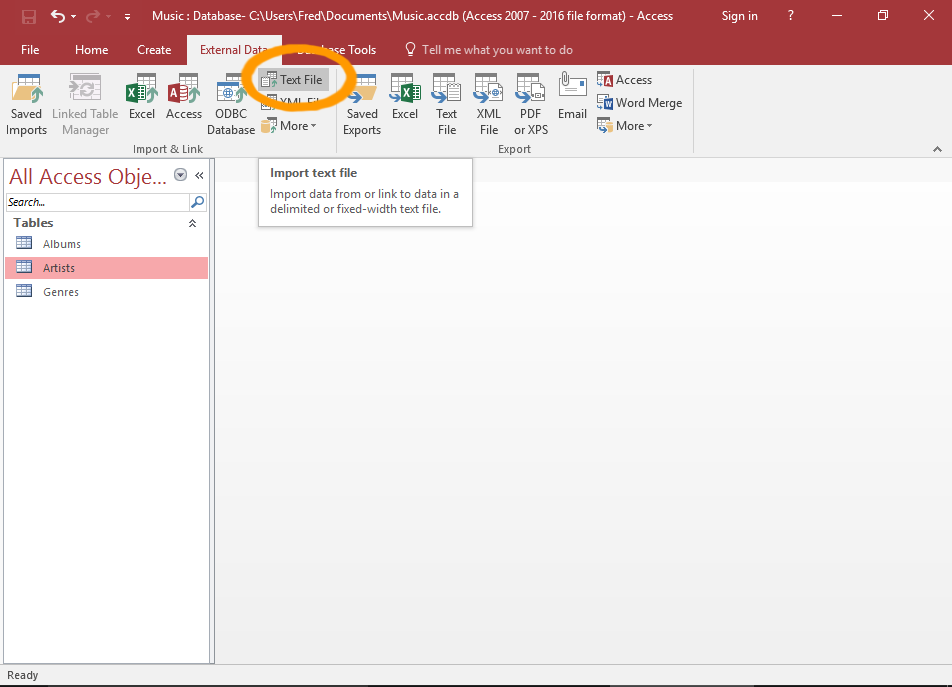
To launch the wizard for a CSV file, click Text File from the External Data tab on the Ribbon.
If you don't see the Text File option on the Ribbon like in the screenshot, but you do see a New Data Source option, select New Data Source > From File > Text File
You can also launch the wizard by right-clicking on a table and selecting an option from the Import option.
Access needs the destination table to be closed before importing data. If you don't close it before starting the import, Access will warn you later in the process, and offer to save and close the table for you
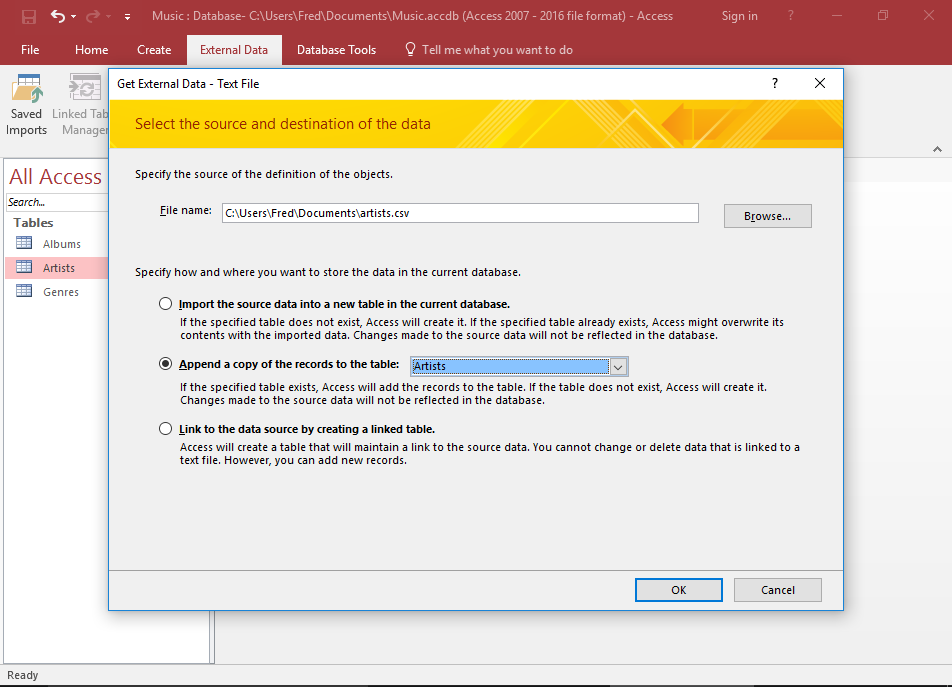
Select the Source File & Destination Table
Use the Browse... button to navigate to and select the import file (in our case, artists.csv).
Select Append a copy of the records to the table and then select the Artists table from the drop down list of tables.
Click OK to continue.
You can just type the path directly into the File name field if you know the full path to the file (i.e. instead of using the Browse... button
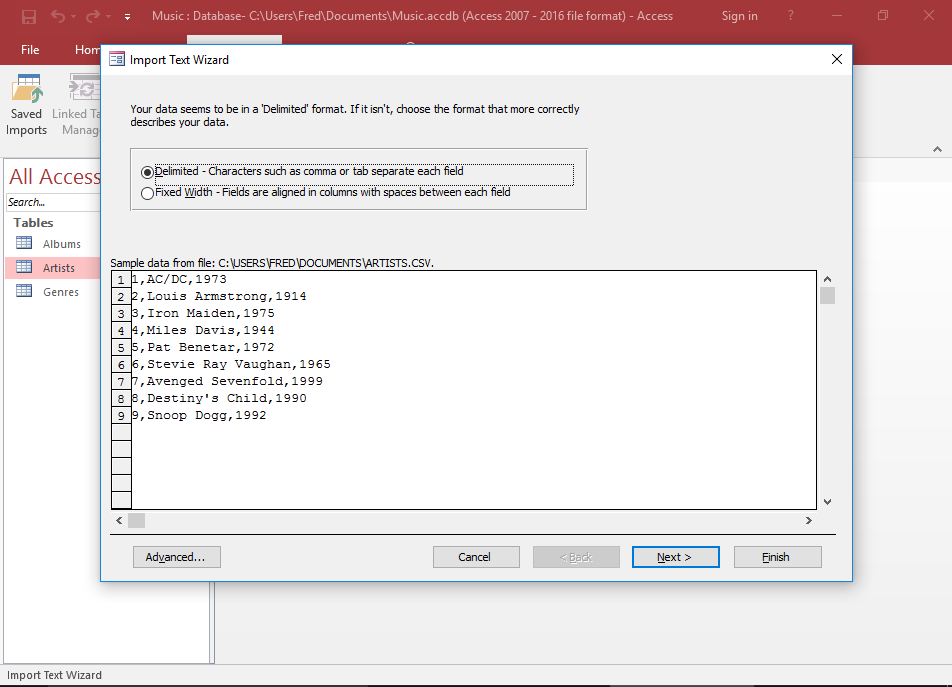
Review the Format Options
This part of the Import Wizard will ask you to confirm the file's format. In our case, Access has (correctly) detected that our file is in a delimited format.
If all looks OK, click Next >
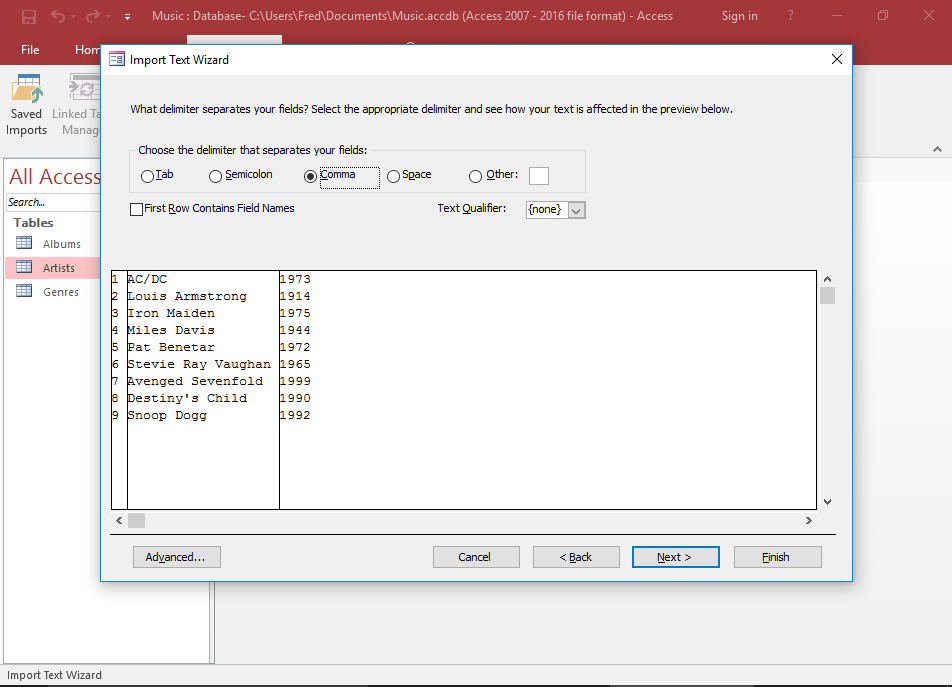
Select/Review the Delimiter
Now Access will ask you to select the file's delimiter. In our case, Access has (correctly) detected that our file uses a comma as its delimiter. If it was wrong, you can click another delimiter and see how the data updates to reflect the new delimiter.
You can also select whether or not the file contains header rows. If the first row of your file contains headers, click First Row Contains Field Names. Otherwise, leave it unchecked.
However, before continuing, click the Advanced... button, as we need to tell Access to skip the extra field
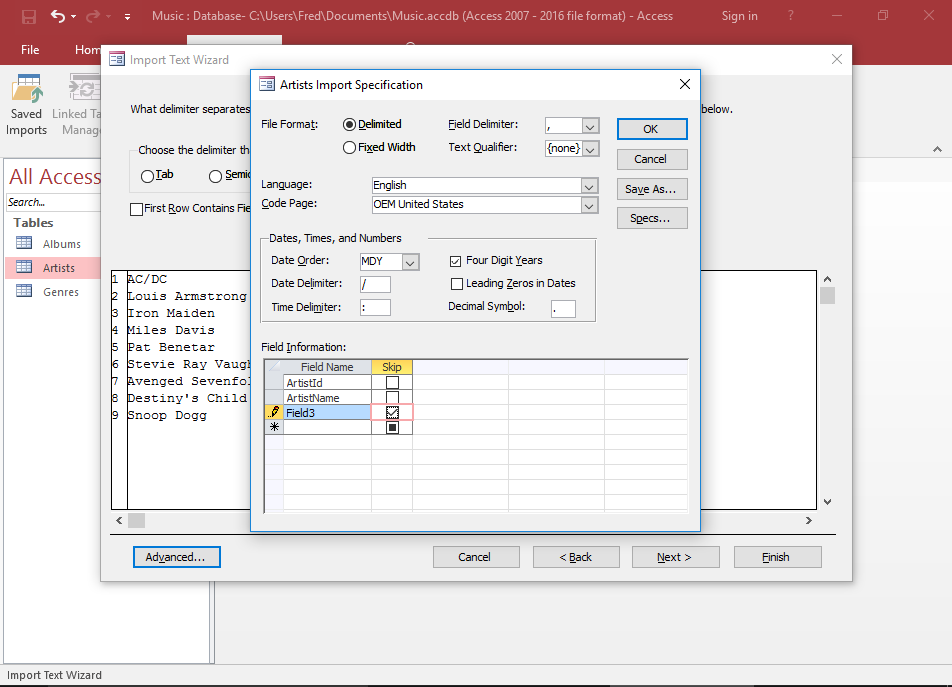
Skip the Extra Field
Access won't import the CSV file the way it is because it contains an extra field. The file contains 3 fields but our table only has two. Therefore we can only import two fields. We need to tell Access which field to skip.
Check the box next to Field3 so that doesn't get imported.
Then click OK.
Continue the Wizard
After skipping the extra field, you'll be back on the delimiter screen. Click Next >
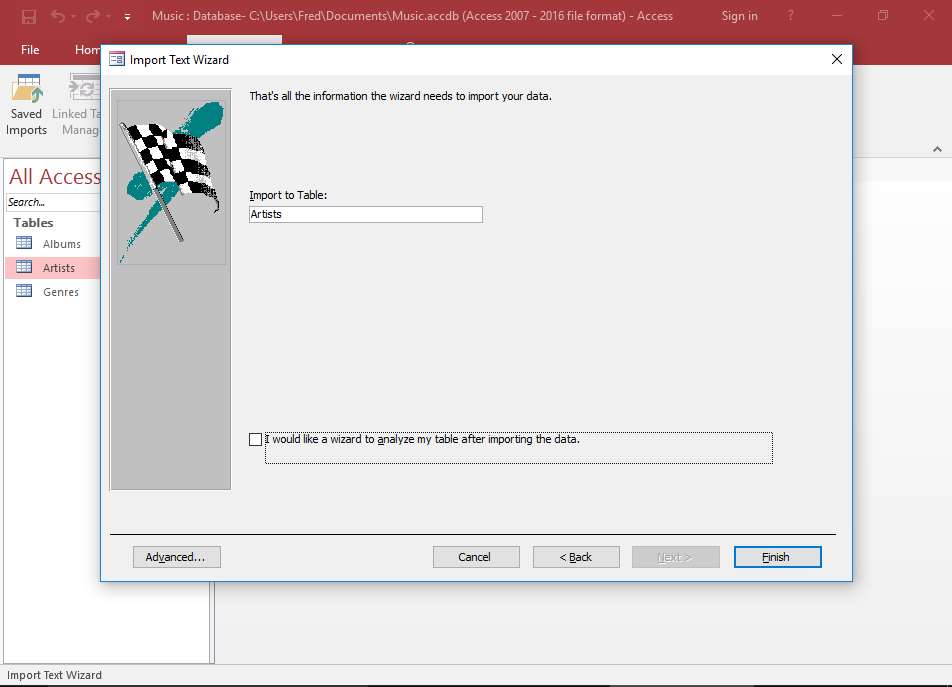
Run the Import
Click Finish to run the import
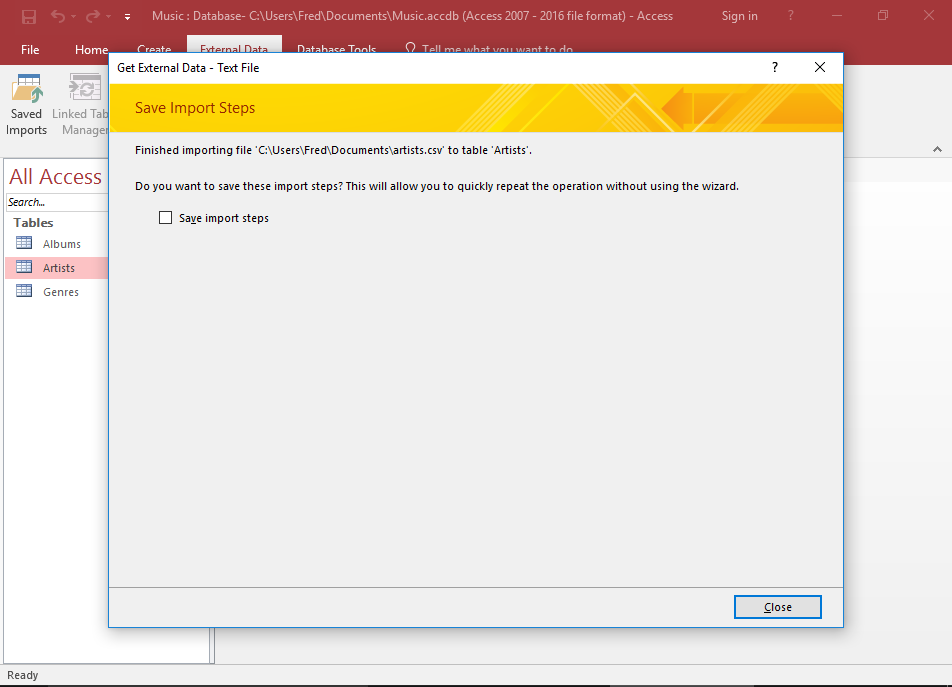
Close the Wizard
Once the import operation has completed, Access will ask you if you want to save the import steps for another time. Check the box if you'd like to, otherwise leave it unchecked, and click Close.
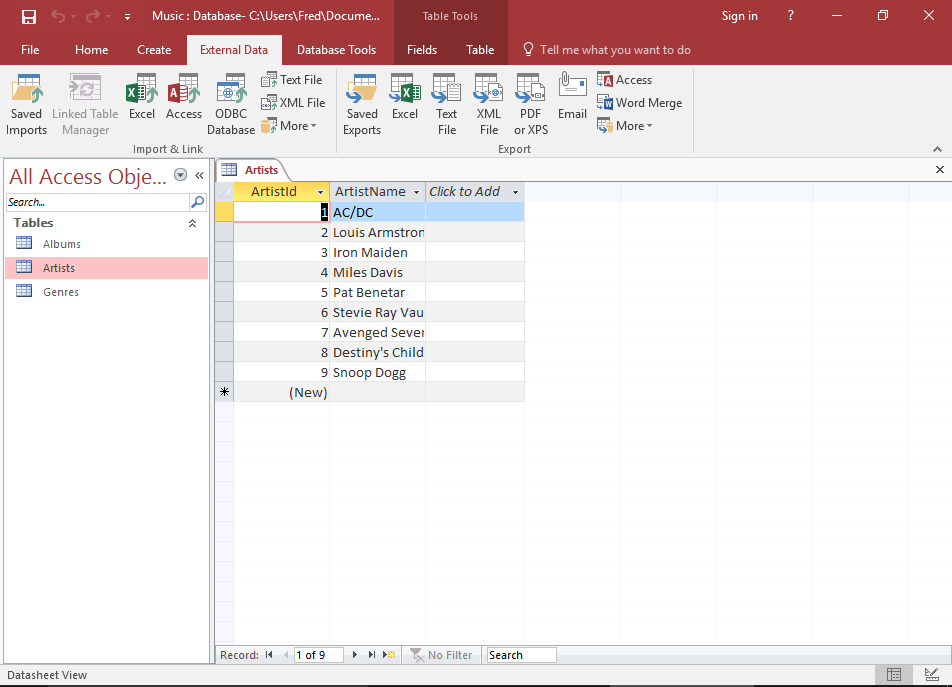
Check that the data has been Imported
Now that the import has run, you should check the table to make sure that all data is in the correct fields and it looks OK.
Double click on the Artists table to view its contents.


Comments
Post a Comment